Getting started
Welcome to this short tutorial. Over the next few minutes, you will learn how to use TilemapExtended from scratch, beginning with an empty project.
If you already have a project running, or are familiar with the basics of Unity Grid and Tilemaps, feel free to skip to the next part.
Creating a project
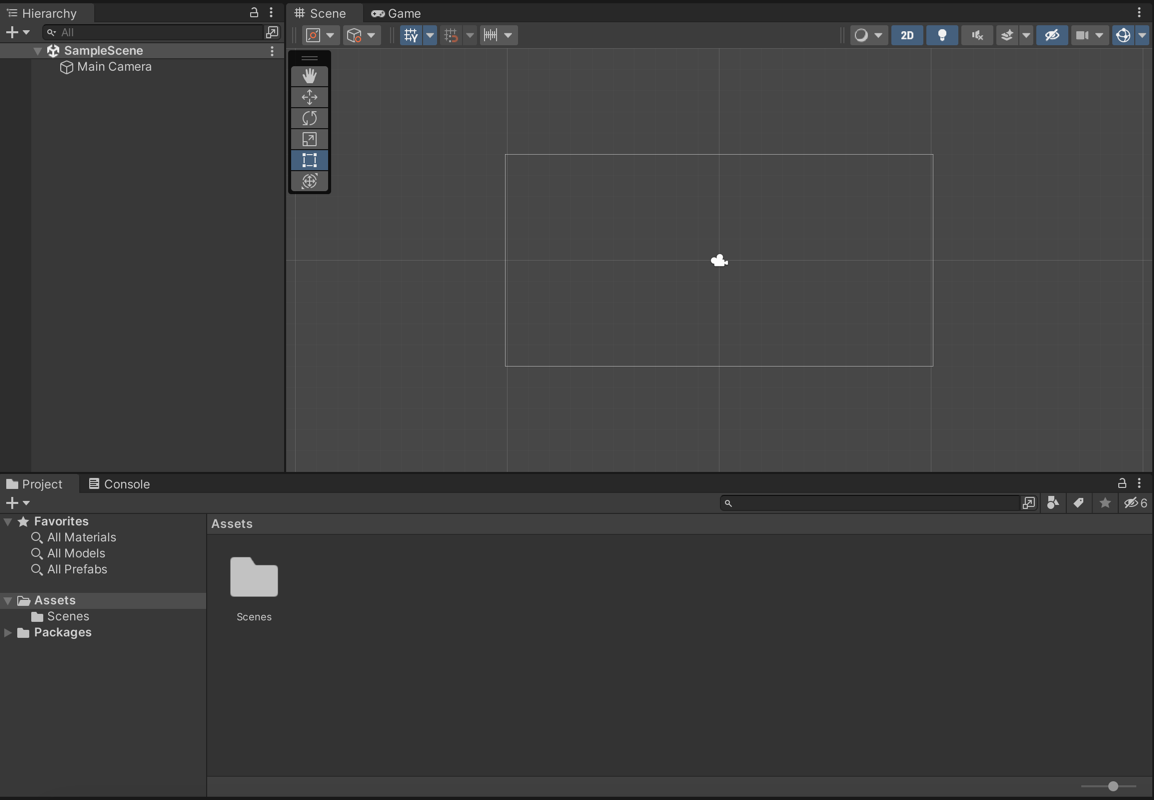
First, let's create a new 2D project from Unity Hub and open it up. You should be greeted with a basic scene like this:

In order to use TilemapExtended, we have to import it:
In Unity's toolbar, head to Window > PackageManager. Download and import TilemapExtended, which should now appear in your assets folder.
Before we start to worry about data, let's start with the visuals and create our scene first.
Creating a grid
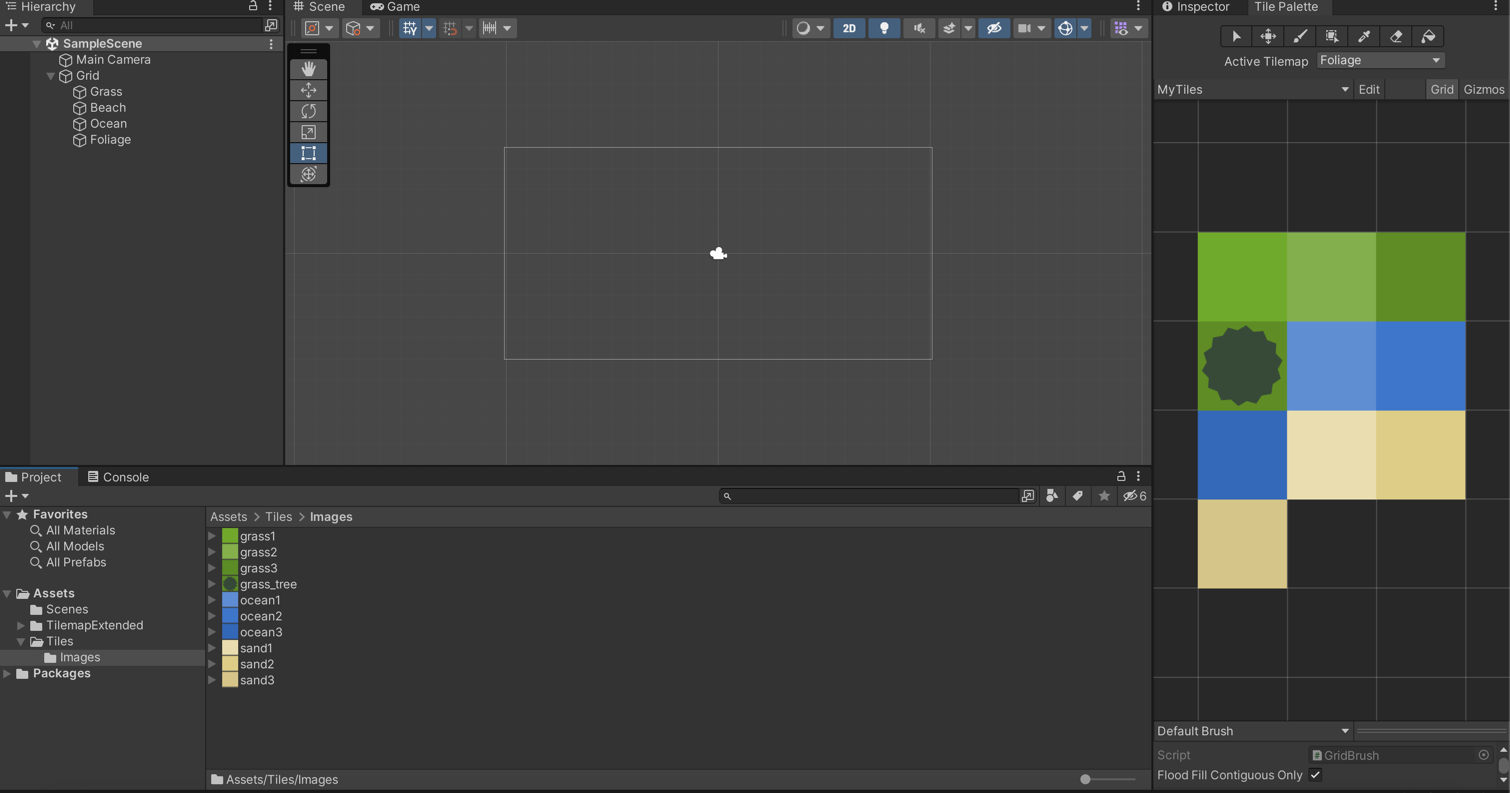
In the background, I went ahead and created some (very) basic tiles which I intend to use for my Tilemap.
Next, those images were imported into Unity and added to a basic TilePalette:

These tiles are part of the rectangular example scene and can be found in the asset folder at
TilemapExtended/ExampleScene/Rectangle/Tiles/.
In the scene hierarchy, I added a basic 2D Grid and attached some rectangular Tilemaps that I intend to fill with my beautiful tiles in just a moment.
Designing a scene
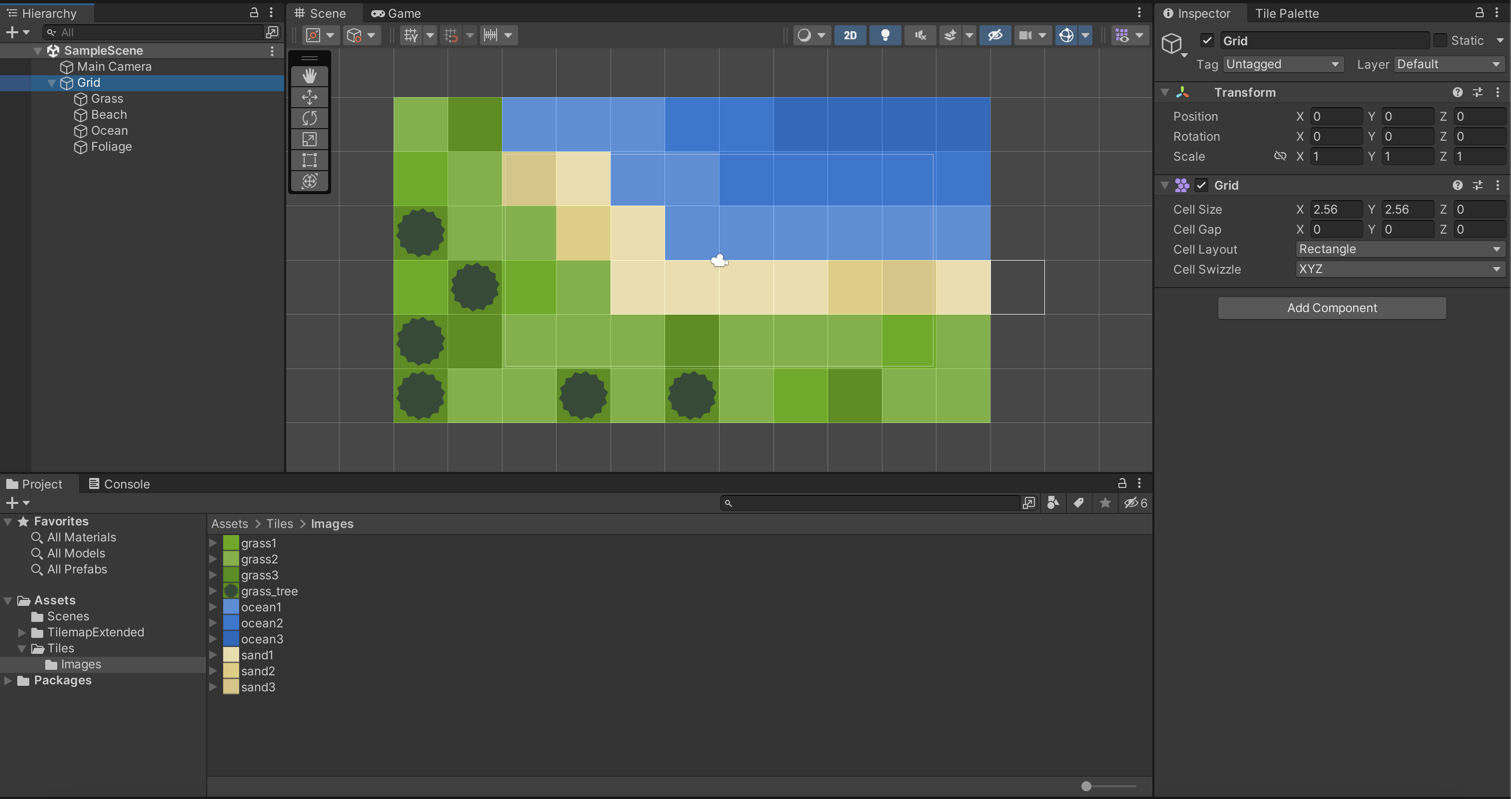
Using the newly created tile palette, I filled my various tilemaps with content in order to create a nice, scenic ocean view.

As you can surely appreciate, I used a variety of different and highly creative tiles, each with their own variations.
Now that we have the visual part done, let's focus on data:
If this scene was designed for a RPG with character movement, or perhaps a turn-based strategy game, nice visuals aren't enough. For example, I would want to restrict movement to grass and sand tiles and completely block movement for trees or ocean tiles. Or perhaps I would like to know if there is ocean on a neighbouring tile so that the player could perform a fishing event.
To add the data we need to cover all these cases, we're going to add TilemapExtended next.